Megan's Nature Nook
Nature Notes, Phenology, Photography, Fun Facts, Trips, Maybe Even a Bad Joke or Two... and More!
|
It’s that time of year again! Birds are getting ready to start building their nests! Last weekend Tony texted me asking if I had any nesting materials out yet because you saw a Black-capped Chickadee collecting moss from planters and later that afternoon I saw a House Finch with grasses in its beak. It was time I got my nesting materials put out! I’ve read many different posts, articles, and websites with information on what and how to offer nesting materials to birds; some of these conflicting with others. So, in this post I will let you know what I offer for birds and some of the materials that are good, and others that aren’t so good. Good Things to Offer:
Things to Avoid:
How to Offer Materials:
I usually try to offer more of the materials that birds aren’t going to find as easily in my yard such as fur and hair. Birds are very resourceful and can build their homes without our help at all. That is why I leave natural materials like moss, bark, and grasses for them to find themselves instinctively and offer those harder to find items in a clean suet cage. If you enjoy watching the birds gather their materials, feel free to offer as many different things as you like. Other Things to Do to Help Nesting Birds:
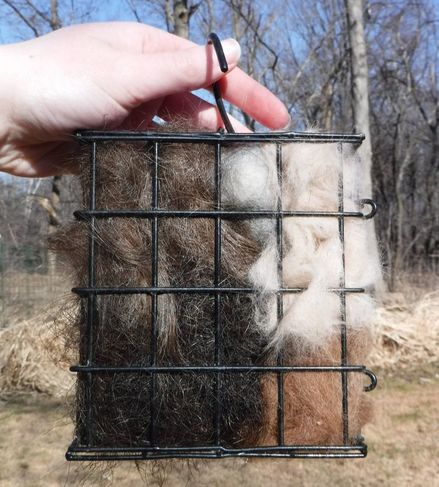 I like to pull the fur and hair out a little so it is easier for the birds to grab I put my nesting materials in a clean suet cage and hang it near my other bird feeders so the bird can easily find it. I stuff my suet cage with as much as I can get into it. 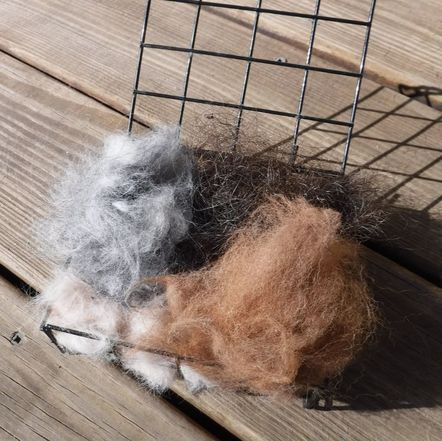 I put Harold hair (cat), Wiggles hair (dog), llama fiber, Tony hair, and Tony beard hair in my suet cage this time. Tony must be a keeper if I didn’t scare him off when I asked if I could keep his hair trimmings after I gave him a haircut, and then when he complied and saved his beard trimmings after he shaved his beard that he’d been growing for seven months. It will be interesting to see if the birds have a preference of which hair is the best.  The beard before it was for the birds. [Photo courtesy: Gwen Rost] 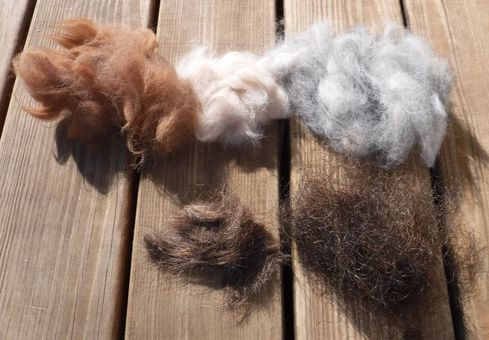 Llama fiber, Harold hair (cat), Wiggles hair (dog), Tony hair and beard Hopefully the birds will enjoy some of the out of the ordinary, "luxury" nesting materials I have to offer this year and will make my yard their home so I can continue to enjoy them! Happy Spring, happy nesting, and happy birding!
2 Comments
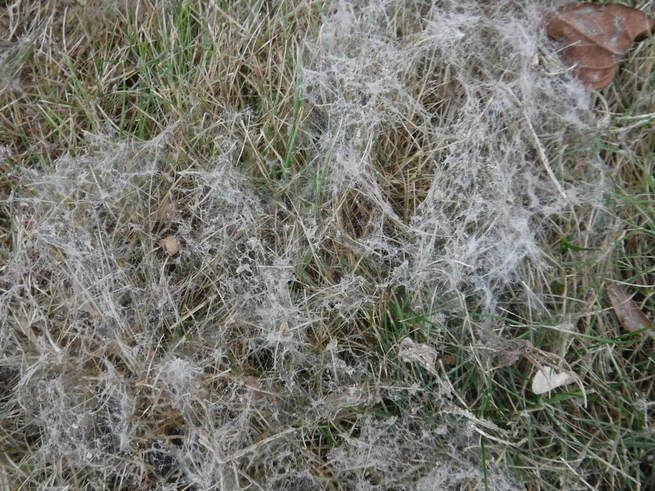 Since Spring time weather still isn’t quite here, and we have the potential for more snow, that gives me time to talk about Snow Mold! If you’ve taken a walk through your yard or a park during this time of year, you’ve most likely encountered Snow Mold before. Snow Mold actually isn’t mold, but a type of fungus. There are two kinds, Grey Snow Mold and Pink Snow Mold. Grey Snow Mold seems to be the one I see the most. Grey Snow Mold begins growing under the snow on unfrozen ground and can continue after the snow melts. It grows in temperatures slightly below freezing up to around 45 degrees. As long as the temperature is right, the snow mold will continue to grow until the ground surface becomes too dry. 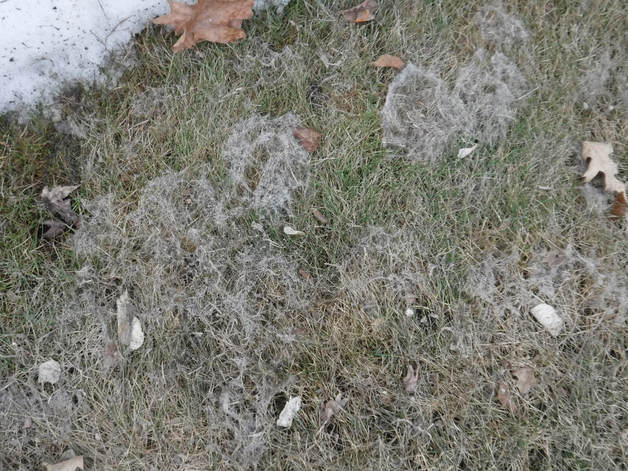 I think Snow Mold looks like spiderwebs on top of matted down grass. The treads of the “spiderweb” are called hyphae, the part of the fungus that collects the nutrients. Usually patches of Snow Mold will be circular and grow outwards. Occasionally, small mushrooms, which are the fruiting body of the fungus, can be seen coming up from the grass. 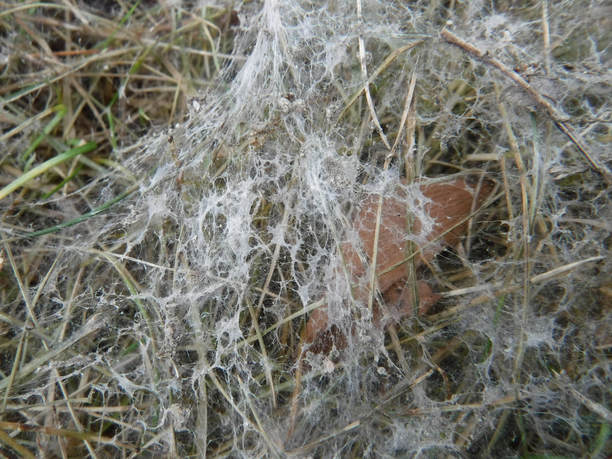 Snow Molds may not grow every year, or in every lawn; it all depends on the weather – amount of snow, length of time the lawn is snow-covered, temperature, and how long the lawn stays wet after snowmelt. If you do have Snow Mold in your yard, when you’re doing Spring yardwork gently rake the matted grass to help it dry out quicker. Once the ground is too dry or temperature are too warm, Snow Mold will dry up and fade until next year. Be sure you’re on the lookout for Snow Mold, or you might miss it!
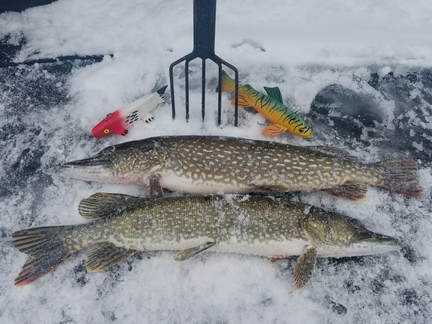
The transition from Winter to Spring may not always be the most pleasing to the eye, but Snow Mold just goes to show that there is always something to keep your eyes open for; even if it is just a fungus growing under the snow in your yard. And, Snow Mold gets me excited for what other fascinating fungi I will find this summer! With the end of ice fishing season, you may find yourself with a freezer full of fish and wondering what you’re going to do with all of it. Since Tony usually has plenty of pike from spearing, we decided to try something new, so I made Pickled Pike!
I have never pickled anything before, so this was a first for me. Tony found a recipe that didn’t seem too involved, and after a trip to the cabin, we had some pike to test the recipe on. It’s not a hard process, but does take time because of the 12-24 hour waiting periods between steps. Let the pickling begin…
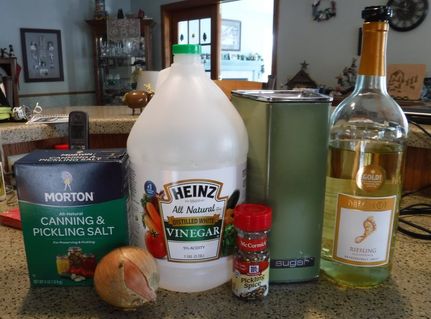
Pickled Pike Fillet fish and remove skin, no need to remove the bones. Cut into 1 inch chunks. Place the fish in a non-metallic container large enough to hold the fish and cover with brine. Brine: ½ cup pickling salt to every 1 quart of water (yes pickling salt is special salt) Cover fish completely with brine and let soak for a minimum of 24 hours. Keep cold. Drain brine off fish then cover with white vinegar for at least 12 hours. Drain vinegar off fish. Do not save the vinegar.
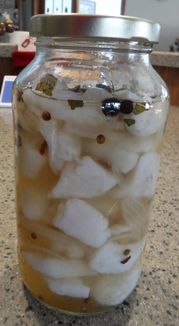
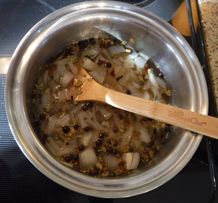
In large kettle, dissolve sugar in vinegar while heating. (Do not let boil). Once sugar is dissolved let cool. Add wine, onions, and pickling spice. Place back on heat and bring to a boil. Remove from heat and let cool again. Place fish in jars adding onions from solution as desired. Top off jar with pickling solution – enough to cover fish. Cover jars and refrigerate. Let stand one week before eating. Peak flavor will be reached in about 2 weeks. This recipe is for 6-8 pounds of pike. (I made a half batch for the two pike and it made just about 3 quart jars full.) Tips:
Do you have a favorite fish pickling recipe or other tips to share? Comment below! I think I want to try pickled perch eggs next, I hear they’re good! 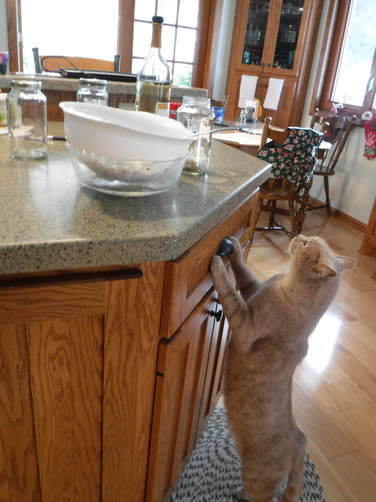 Harold wanted a taste |
Blog Updates:
If you would like to receive a notification when there is a new post, please fill out the contact form under the "Get in Touch" page. About MeHi, my name is Megan. I love spending time out in nature and learning everything I can about it! 
Enjoy my blog and want to support my writing? Buy me a tea! Click the button below - Thank you!
Categories
All
Archives
June 2023
|
 RSS Feed
